Compiling your first C Program
Setup Check
At this point in time, hopefully you have followed to install MinGW onto your machine. Typing gcc --version should yield something similar to the following output:
C:\Users\Charles>gcc --version
gcc (MinGW.org GCC Build-2) 9.2.0
Copyright (C) 2019 Free Software Foundation, Inc.
This is free software; see the source for copying conditions.  There is NO
warranty; not even for MERCHANTABILITY or FITNESS FOR A PARTICULAR PURPOSE.
If you instead get something else, something’s wrong.
C:\Users\Charles>gcc --version
'gcc' is not recognized as an internal or external command,
operable program or batch file.
Here is an example of how my Environmental Variables look like.
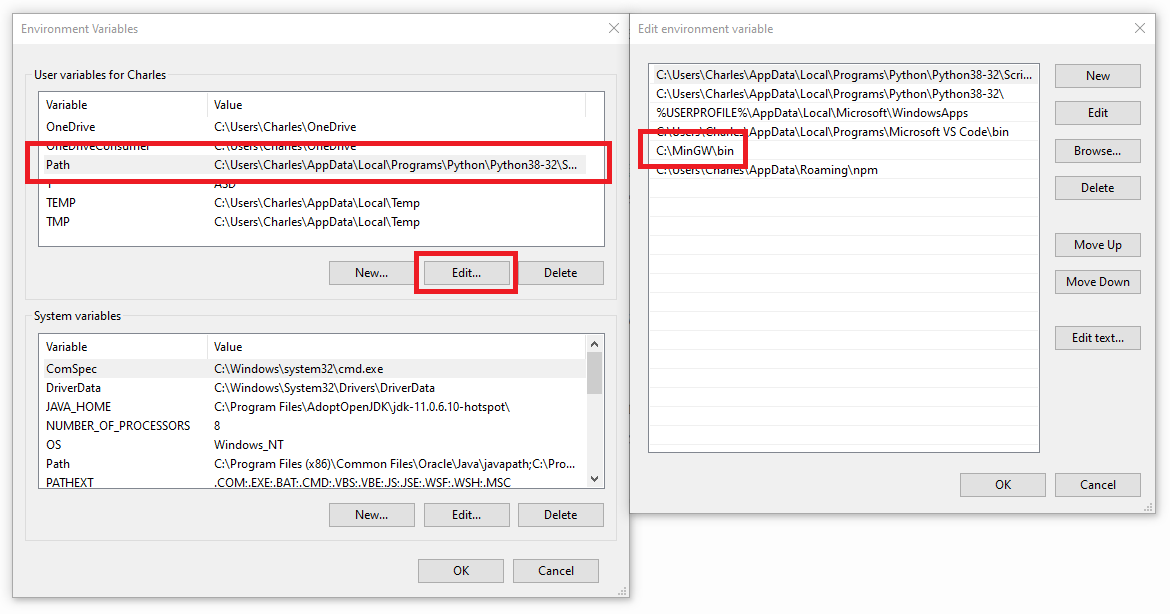
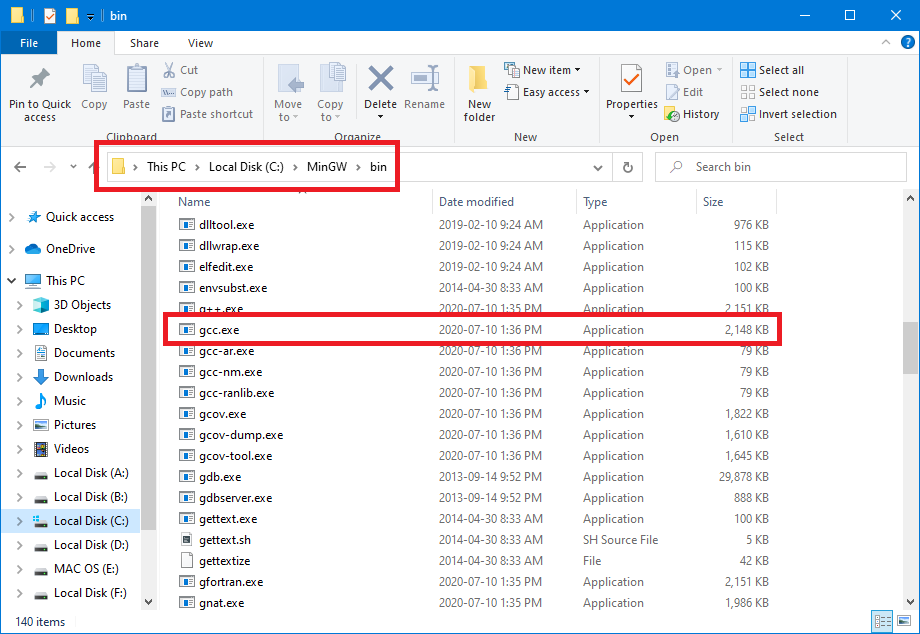
Notice how the entry C:\MinGW\bin is the absolute path to the directory of where my gcc installation is located at.
You will need to change this PATH to your own file location if necessary.
Compilation
It is time to compile your first C program! No, there is no “Run” button like Python’s Wing IDE.
To organize ourselves, let us create a folder just dedicated to CSCA48 programs.
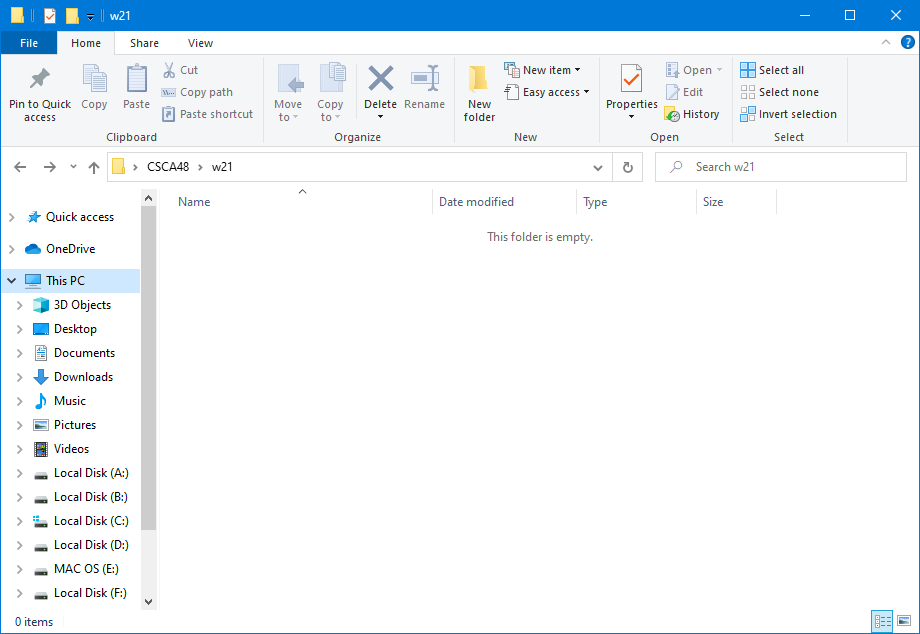
If we right click the address bar and click Edit Address, we will be able to see the Absolute Path.
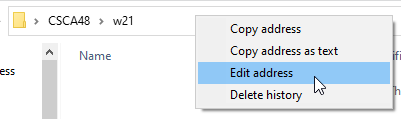
My Absolute Path is C:\Users\Charles\Desktop\CSCA48\w21. This is where my folder is located on my drive.
We now need to change the Working Directory of our Terminal / Command Prompt / Powershell to the folder we’ve just created. This tells our Terminal where to look for files. By default, the Working Directory starts off at your User Profile.
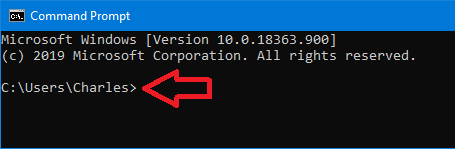
For example, my Working Directory starts off at C:\Users\Charles when Terminal is initially launched. But wait, I don’t have any .c files here – and I don’t want to make any files here either! Let’s change it to the Absolute Path of where my folder is located above. You may need to wrap the path in double quotations.
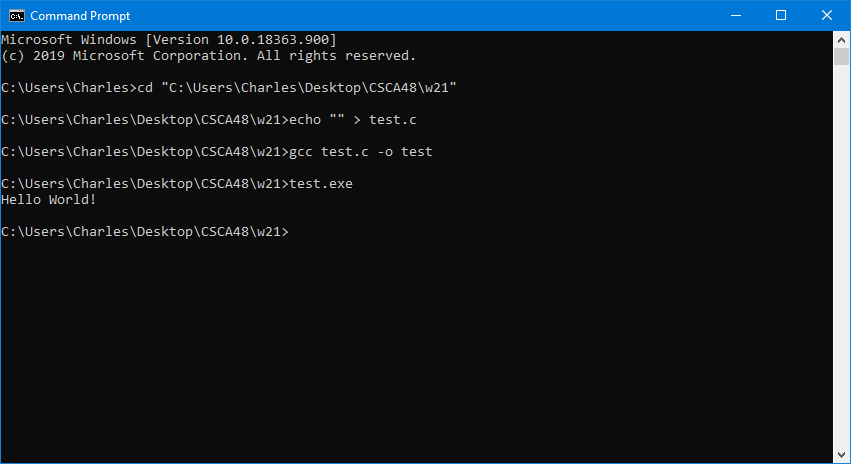
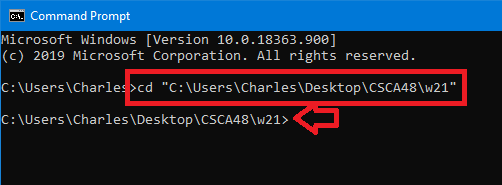
>>> cd "C:\Users\Charles\Desktop\CSCA48\w21"
After executing the cd (Change Directory) command, you should see your Terminal reflect changes immediately.
Now we need to create a new .c file. There are many ways of doing that (eg. through Windows Explorer), but for compatibility’s sake (as students reading this guide are on both MAC OS or Windows), simply execute echo "" > test.c. In other words, print an empty line to the file test.c.
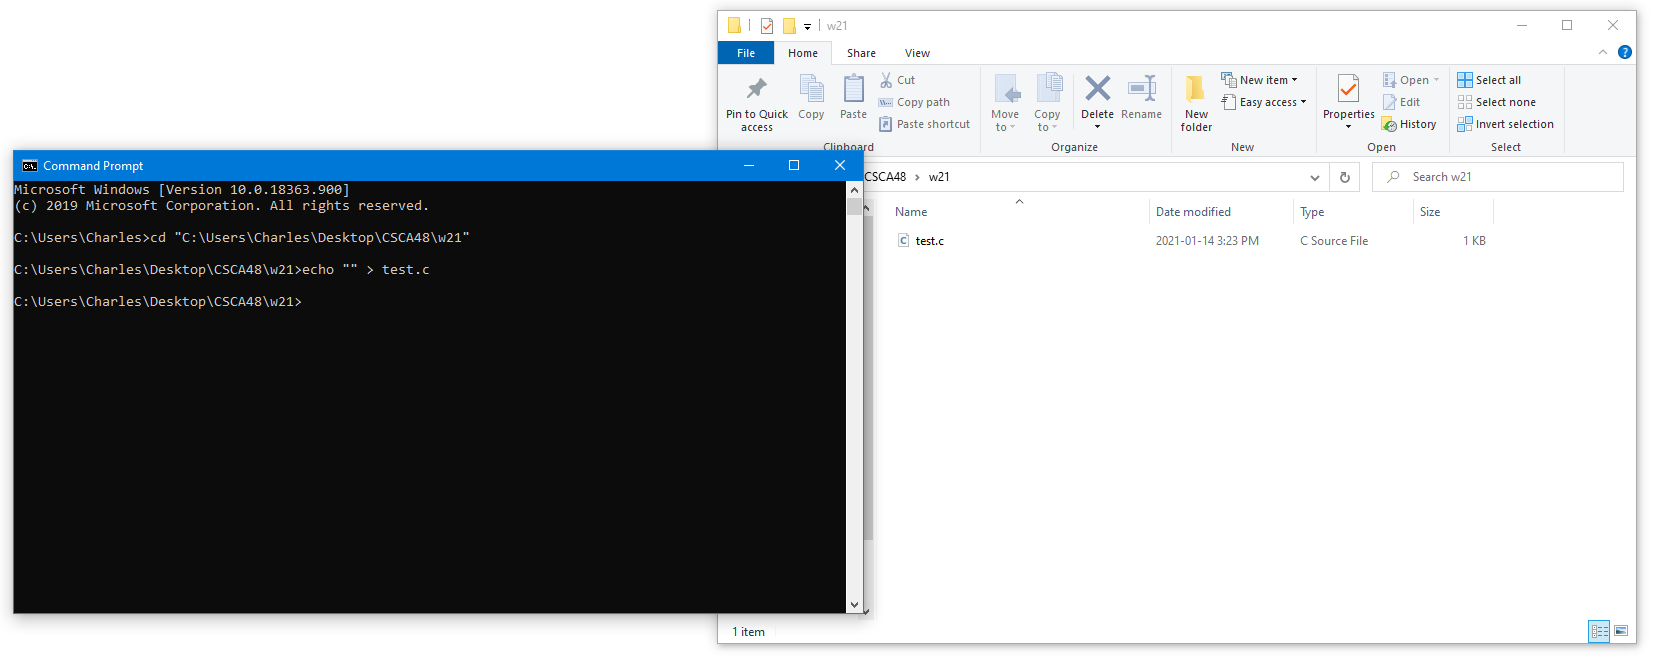
Now open the newly created file test.c with your favourite text editor. We can now write our Hello World!.
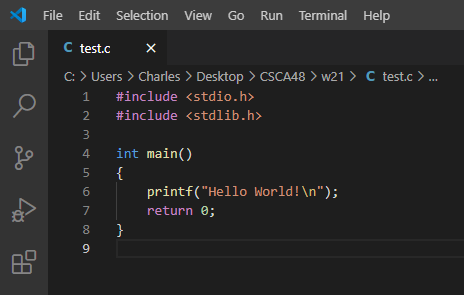
#include <stdio.h>
#include <stdlib.h>

int main()
{
    printf("Hello World!\n");
    return 0;
}
After saving the file, we will now need to compile it.
>>> gcc test.c -o test
Compile the file test.c to the executable -o named test. Note that the -o flag is not necessary. By default, you should see the output be a file named a.
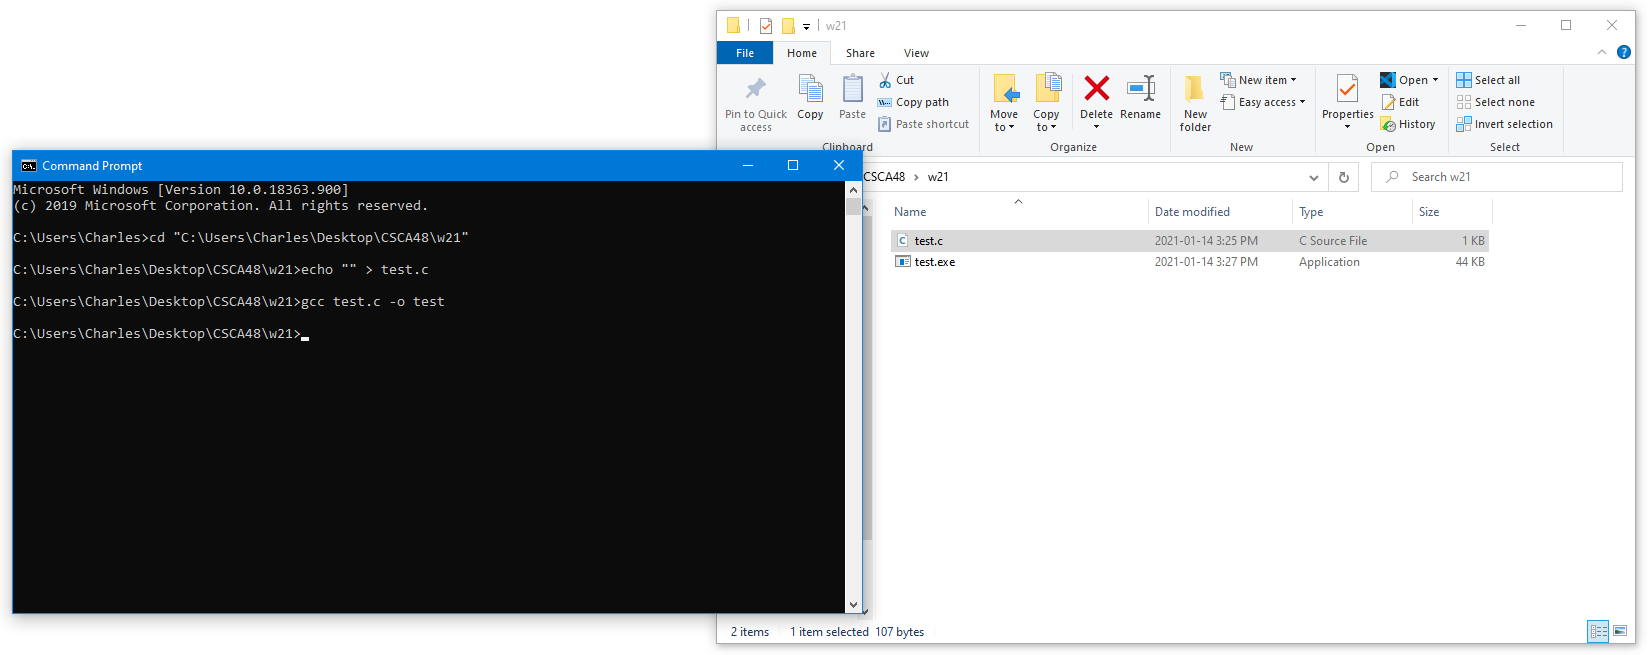
On Windows 10, this generates a file named test.exe. However, on different operating systems, you might get a different result. Now all that’s left to do is run the program!